Paige: A Colorful, Complex Embroidery Font Worth the Thought
First Impressions: Joyful Chaos, Not Just Pretty Letters
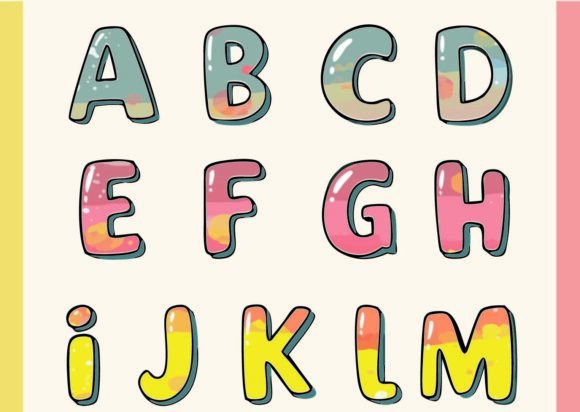
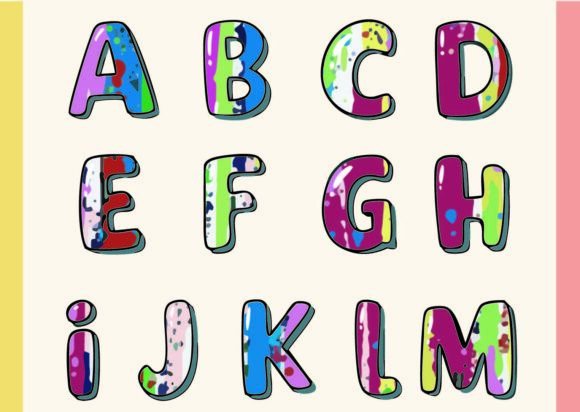
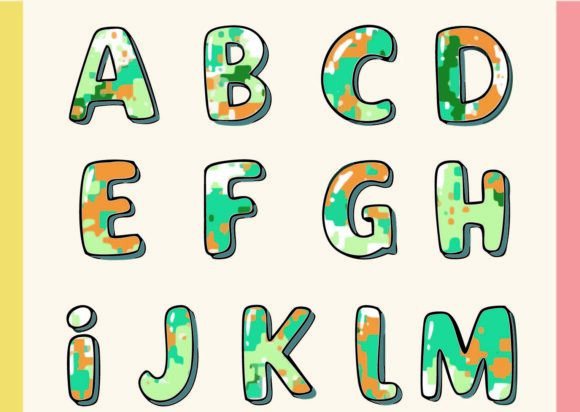
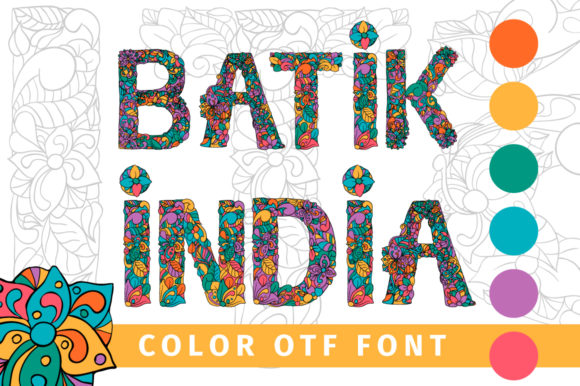
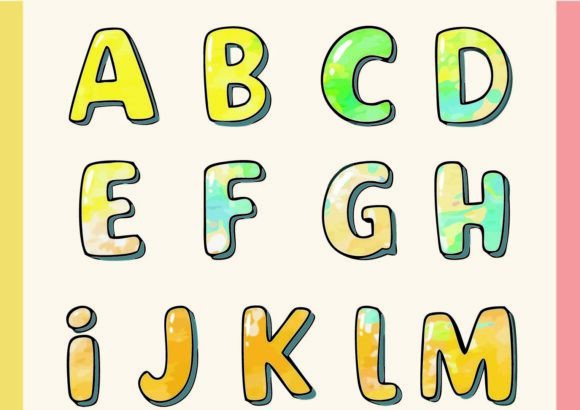
Opening Paige feels like stepping into a kaleidoscope—every glyph bursts with its own distinct color palette. There’s no uniform thread scheme here. That “colorful heaven” description isn’t poetic fluff; it’s literal. The shapes are playful but deliberate: rounded terminals, interwoven strokes, subtle overlaps, and layered paths that suggest motion, not static type. This isn’t a font for minimalist monograms or crisp corporate logos. Paige is for the handmade tote bag with a sun-drenched quote, the baby onesie celebrating “Little Explorer,” or the embroidered tea towel that doubles as kitchen art. It leans into joy, personality, and tactile charm—exactly what makes small-batch embroidery stand out on Etsy or at a craft fair.
Real Project Test: Stitching “June” on a Linen Tote Bag
I pulled Paige into my workflow to embroider “June” across the front of a natural linen tote—lightweight, slightly textured, and popular with boutique buyers. Right away, the complexity showed up in the stitch plan. Each letter required careful color sequencing: the “J” used coral, mint, and gold; the “U” swapped in lavender, peach, and charcoal. That’s beautiful on screen—but in the hoop? It meant more thread changes, tighter tension checks, and close attention to where satin stitches met fill areas. On linen, the texture softened some fine connections, so I added a light tear-away stabilizer underneath—not too stiff, just enough to hold those delicate path intersections true. The result? A finished product that felt *designed*, not templated. Customers paused longer. They asked, “Did you make that font?” That’s the value Paige delivers: instant storytelling through color and shape.
Where Paige Shines (and Where It Asks for Extra Care)
- Custom apparel: Works beautifully on sweatshirts and relaxed-fit tees—especially when the phrase is short (“Joy,” “Hello,” “Nest”) and centered. The color variation adds dimension without needing extra applique layers.
- Baby embroidery: Perfect for nursery decor or onesies—but avoid tiny sizes. Glyphs under 2.5 inches tall start losing their path clarity, especially on knit fabrics. Stick to 3"–4" for reliable stitch definition.
- Embroidered patches: Paige’s built-in color logic translates well to pre-stitched patches. Just confirm your digitizer preserves the intended hue relationships—don’t let auto-color-mapping flatten the intention.
- Holiday & gift embroidery: Think “Merry” on a velvet pillow cover or “Cheers” on a linen napkin set. The warmth and variety feel personal, not mass-produced.
- Small shop product branding: Use Paige sparingly—on tags, packaging liners, or limited-edition labels—to signal craftsmanship and care. Don’t overuse it in full sentences on storefront banners; it’s stronger as accent typography.
Use With Intention—Not Everywhere
Paige isn’t low-maintenance. Its strength is also its caution point: every glyph has a different set of colors and complex paths. That means:
- It’s not ideal for dense, multi-line text blocks—stitch density climbs fast, and readability drops on curved surfaces like caps or sleeves.
- On dark fabric, test contrast early. Some lighter glyphs (like pale yellows or creams) can vanish without a white underlay or careful thread selection.
- Avoid thin or highly stretchy fabrics (like lightweight jersey or chiffon) unless you’re using heavy cut-away stabilizer and reducing stitch density manually.
- Don’t rush the hoop size check. Those intricate connections need room to breathe—tight hoops may distort fine loops or overlapping strokes.
What Paige Adds to Your Finished Product—Beyond Aesthetics
When stitched well, Paige elevates perceived value instantly. Buyers don’t just see “embroidered text”—they sense intention, time, and design fluency. That builds trust, especially for Etsy sellers and handmade shops where authenticity matters. It also strengthens brand consistency: if your shop voice is warm, whimsical, and detail-oriented, Paige reinforces that without saying a word. And for personalized gifts? It transforms “just a name” into something emotionally resonant—a child’s name stitched in soft pastels and gold, or a couple’s wedding date rendered in deep indigo and rose. That’s engagement you can’t fake.
Practical Designer Notes Before You Stitch
- Always test Paige on scrap fabric first—same weight, same stretch, same dye lot as your final piece.
- Review thread color contrast in both daylight and indoor lighting. What reads clearly on screen may blur in real life.
- Check stitch density in tight corners and overlapping paths. If your machine hesitates or threads break, reduce density or adjust underlay.
- Confirm hoop size compatibility—especially for taller ascenders or wide glyphs like “M” or “W.”
- Inspect small details at 200% zoom in your embroidery software. Are those fine connections digitized cleanly? Or do they risk vanishing?
- Test a black-and-white mockup. If the design loses legibility or charm without color, reconsider placement or scale.
- Compare how Paige looks on light vs. dark fabric backgrounds—some glyphs rely on contrast more than others.
- Use proper stabilizer for your fabric type: tear-away for stable wovens, cut-away for knits, and water-soluble for delicate surfaces.
- Verify licensing before selling finished items or digital embroidery files. Paige is a Color Fonts release—confirm whether commercial use, resale of stitched goods, or redistribution of digitized versions is permitted.
Final Thought: Paige Is a Collaborator, Not a Shortcut
Paige doesn’t automate charm—it invites you in. It asks you to slow down, choose thoughtfully, and stitch intentionally. That’s why it works so well for makers who treat embroidery as both craft and communication. Used with awareness, it turns a simple tote bag into a keepsake, a baby blanket into heirloom territory, and a holiday gift into something quietly unforgettable. Just remember: its beauty lives in the details—and so does its success.