Heidi: A Colorful, Complex Embroidery Font Worth the Thought
First Impressions: Joyful Chaos — But Is It Stitch-Ready?
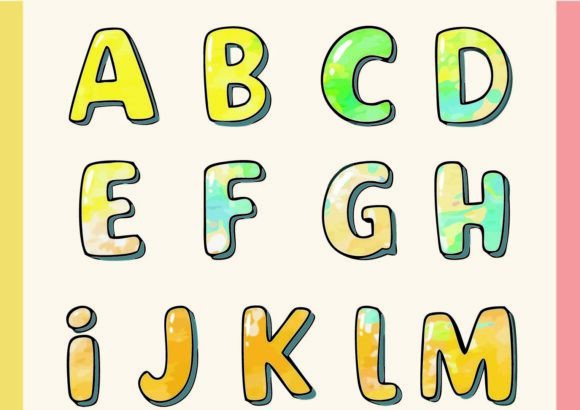
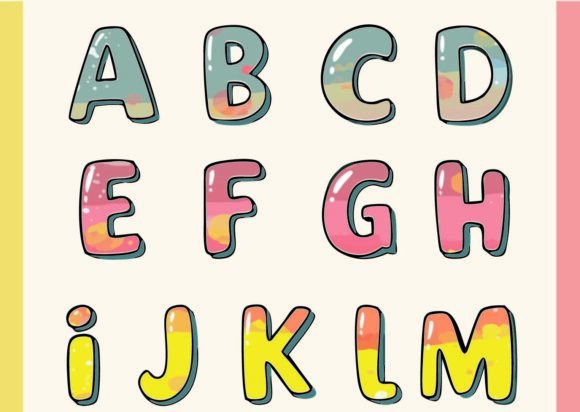
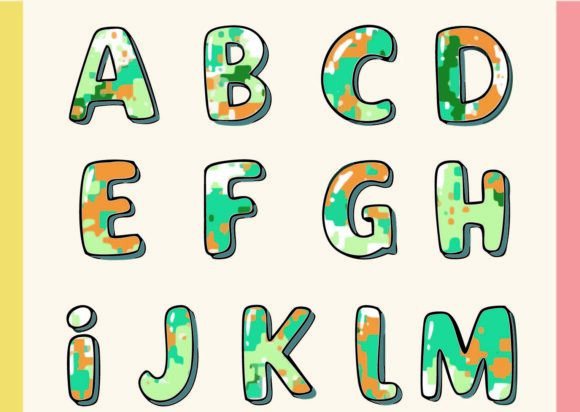
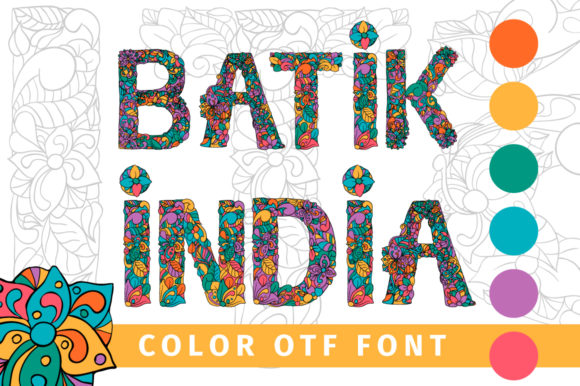
Opening Heidi feels like stepping into a confetti cannon mid-burst — every glyph bursts with its own palette, no two letters share a thread color scheme. That’s not just stylistic flair; it’s structural intention. The paths are intricate, layered, and deliberately interconnected — think overlapping satin stitch zones, fine running stitch connectors, and fill-stitch islands that rely on precise registration. As an embroidery designer who’s stitched hundreds of fonts for client totes, baby onesies, and boutique aprons, my first question wasn’t “Is it pretty?” — it was “Will this hold up when hooped, stitched, and washed?”
A Real Project Test: Embroidering a Linen Tote for a Local Bakery
I tested Heidi on a medium-weight natural linen tote — the kind sold at craft fairs and small-town gift shops. The goal? A cheerful, handcrafted logo tag: “Honey & Thyme” in Heidi, centered above a simple bee icon. Right away, the color variation worked *with* the project’s handmade vibe — customers loved the unexpected pop of coral in the “H”, the minty “e”, the buttery “i”. But the complexity demanded attention: the inner curves of the “o” needed extra stabilizer to prevent puckering, and the tiny crossbar in the “t” vanished on first pass until I adjusted stitch density and added a lightweight cutaway backing. This isn’t a “load-and-go” font. It’s a collaborator — one that rewards thoughtful prep.
Where Heidi Shines (and Where It Asks for Patience)
- Custom apparel: Sweatshirt fronts and relaxed-fit tees gain instant personality — especially with Heidi’s playful rhythm. Just avoid tight necklines or curved cap fronts unless you’re using a multi-hoop setup or simplifying glyphs manually.
- Personalized gifts: Baby embroidery on organic cotton onesies? Yes — but choose larger sizes (10+ pt equivalent) and skip the densest glyphs (“g”, “y”, “&”) for under-6-month items. Parents care about softness *and* safety.
- Embroidered patches: Heidi’s built-in color logic translates beautifully to sew-on patches — ideal for craft fair vendors or Etsy sellers bundling digital embroidery files with physical patch kits.
- Holiday and wedding embroidery: Think tea towel monograms for bridal showers or pillow covers for baby nurseries. Heidi’s warmth reads as sincere, not cutesy — a real differentiator for premium handmade products.
- Digital product previews: As a Color Fonts file, Heidi renders cleanly in mockup tools — making it easy to show clients vibrant, accurate representations before stitching begins.
Use With Care: Fabric, Scale, and Real-World Wear
Heidi doesn’t hide its intricacy — and that means some boundaries matter. On thin or stretchy fabric (like jersey baby blankets or lightweight rayon scarves), the fine path connections can distort or snag during stitching. Dark fabrics demand high-contrast thread choices — that lavender “d” won’t read on navy without testing. And on textured surfaces like terry cloth towels or bouclé knit caps, simplify or omit the most delicate glyphs entirely. I skipped the “i” dot and “j” tail on a kitchen towel run — not because they’re flawed, but because clarity trumps completeness when function matters.
What Heidi Adds to Your Finished Product — Beyond Pretty Letters
When executed well, Heidi elevates perceived value instantly. Customers don’t just see lettering — they see intention, craftsmanship, and joyful detail. That matters for Etsy sellers pricing personalized gifts at $45+, for small shop owners branding their aprons, or for crafters selling embroidered nursery decor where “handmade” must feel unmistakably human. Heidi also strengthens brand consistency if used across physical and digital touchpoints — say, matching tote bag embroidery with printable mockups for social posts. But it only builds trust if it stitches cleanly. A missed connection or thread nest erodes confidence faster than a plain font ever could.
Practical Designer Notes Before You Hoop It
- Always test Heidi on scrap fabric — same type, same stabilizer, same hoop size you’ll use for the final piece.
- Check thread color contrast *in natural light*, not just on screen. That peach “a” may vanish on oatmeal linen.
- Review stitch density: dense fills work on stable fabrics, but may cause stiffness on baby items or lightweight totes.
- Confirm hoop size compatibility — complex glyphs often require 4x4” minimum, sometimes 5x7” for full words.
- Inspect small details at 200% zoom in your embroidery software. Look for floating elements or micro-loops that could snag.
- Test black-and-white mockups — helps spot legibility gaps before committing to color.
- Compare performance on light vs. dark fabric backgrounds — adjust underlay or stabilizer accordingly.
- Use proper stabilizer: cutaway for knits, tear-away for stable wovens, and always float a lightweight topping for textured surfaces.
- Verify licensing terms — especially if selling finished embroidered goods or bundling Heidi as part of a commercial embroidery file pack.
Final Thought: Not for Every Project — But Perfect for the Right One
Heidi isn’t background music. It’s a soloist — expressive, detailed, and unapologetically colorful. It belongs on the front of a boutique sweatshirt handed to a customer with a smile, stitched onto a linen pillow cover gifted at a baby shower, or anchoring a holiday market tote that stands out in a sea of minimalist fonts. Use it when you want your embroidery to spark conversation, convey warmth, and reflect the care behind your craft business. Just remember: its beauty lives in the balance between bold color and careful execution. Respect the complexity, test thoroughly, and let Heidi do what it does best — make handmade feel unforgettable.